Popcorn ceilings were popular from the 1950s through the 1980s. Today, most homeowners want them gone — and for good reason. They collect dust, make rooms feel dated, and can even contain asbestos in older homes.
The Removal Process
Professional popcorn ceiling removal follows a careful sequence:
Step 1: Testing
For homes built before 1980, we always recommend asbestos testing first. A small sample is sent to a certified lab, with results typically back within 48 hours.
Step 2: Room Preparation
We cover all floors, walls, and fixtures with plastic sheeting. Furniture is either moved out or covered completely. This step is critical for a clean result.
Step 3: Moistening and Scraping
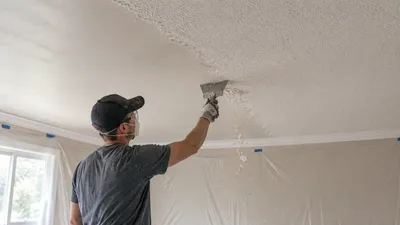
The texture is lightly sprayed with water to soften it, then carefully scraped off with specialized tools. This minimizes dust and makes removal easier.
Step 4: Skim Coating
After scraping, the ceiling surface is rarely perfectly smooth. We apply a thin skim coat of joint compound to create a flawless surface.
Step 5: Sanding and Finishing
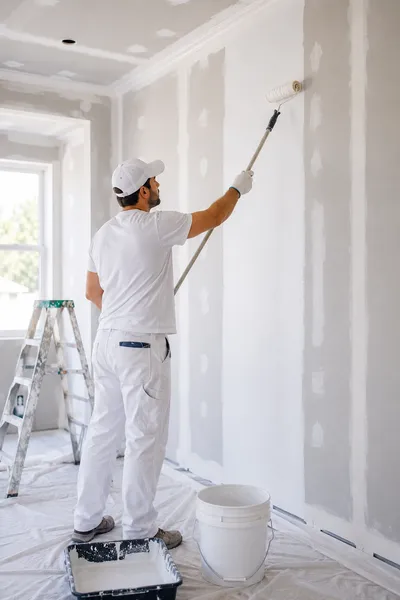
Once dry, the surface is sanded smooth, primed, and painted with your chosen color.
Timeline
A typical room takes 1-2 days to complete. For a full house, expect 3-5 days depending on the number of rooms and ceiling condition.
Cost Factors
- Room size and ceiling height
- Presence of asbestos (adds testing and special removal costs)
- Desired finish (smooth vs. light texture)
- Painting included or not
Is It Worth It?
Absolutely. Removing popcorn ceilings can increase your home’s value by 1-3% and makes any room feel instantly more modern and spacious.
Ready to modernize your ceilings? Get a free estimate from our team today.